Using Windows 7 is simply great. It’s a great operating system with many advancements and features from Microsoft. But, as always, any newly developed operating system is prone to bugs and instabilities. Microsoft too had anticipated this and therefor developed XP Mode in Windows 7. Windows 7 has many backward compatibility issues and therefor XP Mode helps in eradicating such compatibility glitches and allows to install older Windows-XP-working programs in Windows 7.

XP Mode will allow Windows 7 user to run Windows XP in the Microsoft’s Virtual Machine. This virtual environment will permit the user to install those programs that aren’t yet compatible with Windows 7. These programs will work in exactly the same manner as they would work in Windows XP machine. Below I will demonstrate on how to use the XP Mode within Windows 7.
Certain operating systems do not support “virtualization”. Hence, it is essential to check whether virtualization is supported on your machine. To do this, you can download HAV Detection Tool provided by Microsoft. Run the downloaded program.
If your computer supports virtualization, you will get the following message:
Else, you will get the following message:

Note: Do not proceed with using XP Mode or Virtual Machine if your computer does not support virtualization.
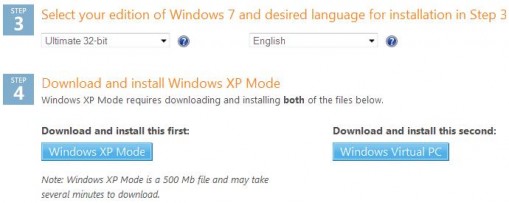
Now, it’s time to download the Windows XP Mode. Select the Windows 7 version that is installed on your computer and the language.

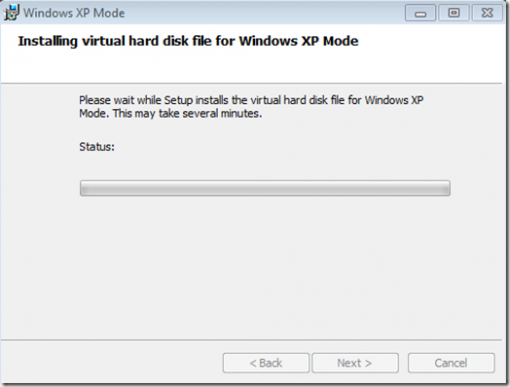
Click on the Windows XP Mode, install the downloaded installable and complete the installation.

Once you finish the XP Mode installation, you will have to revisit the Windows XP Mode page and download Windows Virtual PC. Install the downloaded installable (with any prompted updates). You will be asked to restart your computer on installation. Restart it.
Once the computer restarts with installations of new files, you should be able to launch Windows XP Mode. Click the start menu and navigate the path – Start > All Programs > Windows Virtual PC > Windows XP Mode.
Type a password into the pop up box to use for your virtual machine, type again to verify, and click Next. On the second screen, select the option to turn automatic updates on, and click Next. Windows Virtual PC will now set up your XP Mode machine. This could take a couple of minutes to complete.
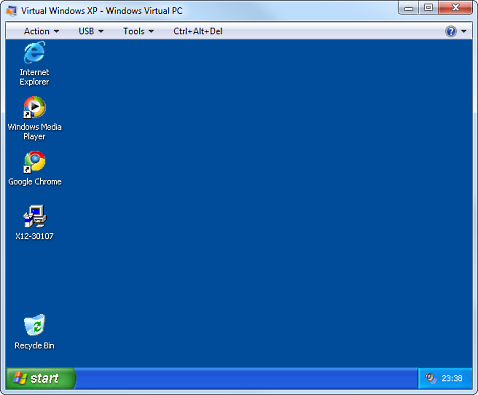
After the setup completes, Windows XP will start automatically within the virtual machine window.
From the virtual machine window, you can setup your XP Mode virtual machine the same way that you would setup an actual computer with a normal XP install on it. You can add or delete accounts, add or remove programs, change desktop themes, and much more.
You can make your virtual machine full screen by hitting the Maximize window button (the same button that you would use to maximize any window). Alternatively, to go back to normal view, just click the Restore button.

Done. You’re ready to use Windows XP within Windows 7. Any older programs that worked fine with Windows XP can now be installed in the virtual Windows XP and used smoothly.